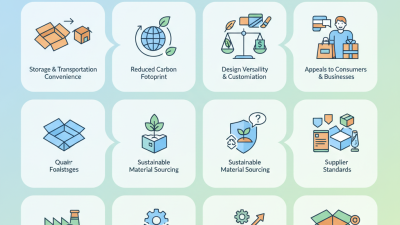
How to Choose a Personalized Paper Box?
Choosing a Personalized Paper Box starts with the product, not the print design. Measure the item and allow room for protective material, inserts, or easy removal. A snug fit can reduce movement, but an overly tight box may frustrate customers. Small details matter.
Consider how the box will be handled, shipped, displayed, and opened. A lightweight item may need a simple folding carton, while a heavier product could require sturdier paperboard. Ask suppliers about board thickness, closure options, finishes, and print quality. Request a physical sample when possible. A screen image cannot show how a surface feels or how colors look under indoor light.
Then match the design to your brand and budget. Choose colors, typography, and artwork that remain clear at the actual box size. Foil, embossing, and specialty coatings can add visual interest, but they may increase cost or production time. Keep essential information readable. Check dielines and proofs carefully, including spelling, panel placement, and barcode space where relevant.
A polished mockup can still hide a practical problem. The box may be hard to assemble, or its insert may shift during delivery. Test a filled sample before approving a larger order. Ask about minimum quantities and repeat-order consistency, too. There is no perfect choice for every product. The best Personalized Paper Box balances protection, presentation, usability, and realistic production needs. Some compromises are normal; review them before they become expensive.
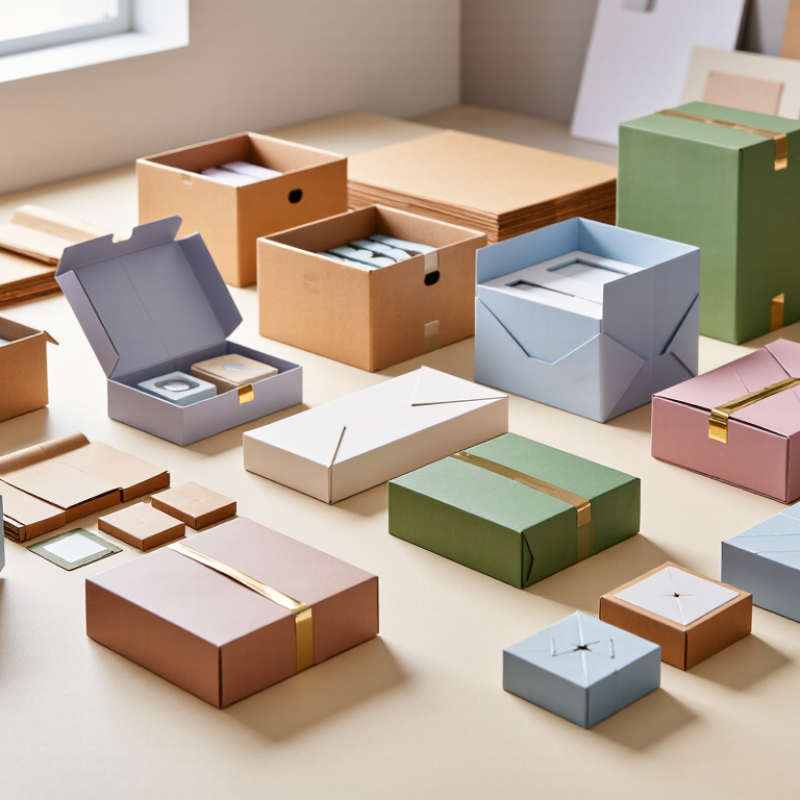
Measure Product Dimensions and Set Box Tolerances Before Design
Measure the product at its widest, longest, and tallest points, including caps, handles, or parts that stick out. Record each measurement in millimeters or inches, and use the same units throughout the design. Measure twice. These figures should describe the product itself, not the outside of its current packaging. For irregular shapes, note the largest dimensions and sketch where they occur.
Set the box’s internal dimensions around the product, then decide how much clearance it needs for easy packing and removal. A snug fit is not always a safe fit. Paperboard thickness, folded seams, and protective inserts can reduce usable space, so confirm how the supplier calculates finished dimensions. There is no single tolerance that suits every box. A rigid item may need little movement, while a fragile object may need room for a fitted cushion. Small gaps matter.
Before approving artwork, make a plain paper mock-up or a sample using the intended material. Place the product inside, close the flaps, and check for pressure marks, rattling, or awkward removal. Test more than one product if dimensions vary slightly between units. A sample can reveal a flaw that looks invisible on a screen. I would not skip this step, even when the measurements seem exact; real products rarely behave like perfect diagrams.
Compare Paperboard Grammage in g/m² Using ISO 536
A personalized paper box should begin with its contents, not a guessed grammage. Grammage means mass per unit area, expressed in g/m². ISO 536:2019 specifies how to determine it by weighing paper or board test pieces. Compare samples measured by the same method. Numbers need context. CEPI’s Key Statistics 2023 reports 79.2 million tonnes of paper and board production across its member countries that year. That industry scale is useful context, but it does not make one grammage right for every box.
For a light sleeve or small carton, 250–300 g/m² can be a sensible range to test. A larger box or heavier contents may call for 300–400 g/m². These are starting points, not guarantees. A 350 g/m² board can still feel less rigid if it is thinner or has different construction. Check caliper and bending stiffness alongside grammage. Ask for samples with the same coating and finish as the intended box.
Fold each sample along its planned creases. Place the actual product inside, then check for panel bowing, corner wear, and clean closure. I still find appearance easy to overrate: a crisp sample can soften after handling. Request the supplier’s ISO 536 test result, plus details on conditioning and sample variation. Small differences matter. Compare printed and unprinted pieces, too, because coatings can change feel and folding behavior. A short production trial can reveal weaknesses that a specification sheet misses.
Plan Custom Graphics with ISO 12647-2 Color-Control Standards
A personalized paper box often starts with a vivid idea: a deep green panel, fine gold lines, or a photograph across the lid. Before approving the artwork, ask how its colors will be controlled. ISO 12647-2 describes process-control requirements for offset printing, including aims for color reproduction and print consistency. It gives the production team a shared reference, not a promise that every screen image will match the finished box.
Ask the printer which printing condition and paper stock the job will use. A warm white board can make pale colors look creamier, while a coated surface may hold sharper detail. The supplied color profile should reflect the intended production conditions. Request a calibrated proof, then inspect it under consistent lighting. Look closely at skin tones, small text, and large areas of flat color. That matters. If the box uses special inks or finishes, agree on separate samples and approval criteria.
A proof may still feel dull beside a bright monitor. That is not always a printing fault; screens emit light, while paper reflects it. Compare the proof with the actual board when possible, especially if the package includes foil, varnish, or textured stock. Keep approved files and color references for repeat orders. Even careful controls leave room for variation, so record any color adjustments before production begins.
Check Board Burst Strength Against ISO 2759 Test Results
How to Choose a Personalized Paper Box?
A personalized paper box should protect its contents, not just look polished. Check the board’s burst strength in a laboratory report using ISO 2759, the standard method for measuring the pressure needed to rupture paperboard. Results are usually reported in kilopascals (kPa). For example, an illustrative report might list three production samples at 520, 505, and 478 kPa. These figures are sample data, not a universal quality threshold. Compare them with your product’s weight, packing method, and shipping conditions. ISO 2759 results describe the board sample; they do not guarantee how a finished box will perform at corners or seams. Small differences matter.
Tips: Ask for the test date, sample count, and board grade alongside the result. Check whether the tested board matches your proposed box, including its thickness and recycled-fibre content. If two suppliers report different values, confirm that both used the same test method and comparable conditioning. I would also test a filled box in transit conditions. Burst strength is useful, but it cannot capture every real-world knock.
Keep the report with your packaging specification, and request updated results when the board source or construction changes. That paper trail makes quality checks easier. It is not perfect, but it gives your choice a measurable basis.
Validate Shipping Performance with ISTA 3A Distribution Tests
When choosing a personalized paper box, treat its printed design and shipping performance as separate decisions. A precise fit can reduce movement, but thin panels or weak corners may still buckle. Check the box with the actual product, insert, closure, and shipping label in place. A box that survives empty proves little.
ISTA 3A evaluates individually packaged products weighing up to 70 kg (150 lb) in parcel delivery systems. Depending on the package and test sequence, evaluation can include drops, vibration, compression, and environmental conditioning. The 2024 Parcel Shipping Index estimated that 21.7 billion parcels moved through the U.S. system in 2023. That scale makes realistic validation worthwhile. Ask a qualified packaging laboratory to test the finished configuration, not just a flat sample or an unprinted prototype.
Watch the details. Record where dents, crushed edges, or insert shifts appear, then adjust dimensions, paperboard strength, or internal supports and retest. No test predicts every route. ISTA 3A is a useful simulation, not a promise against every handling event. I would also review results with the team packing orders: a design can pass testing yet prove awkward to assemble consistently. Small gaps matter.