What Are the Top Types of Window Paper Boxes?
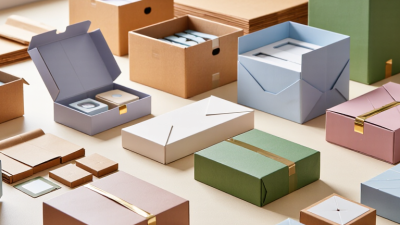
A Window Paper Box does more than hold a product. Its clear panel lets shoppers see color, shape, and finish before opening the package. That small glimpse can build confidence, but it also leaves less room to hide uneven presentation. The box must protect the item, frame it clearly, and suit how it will be handled.
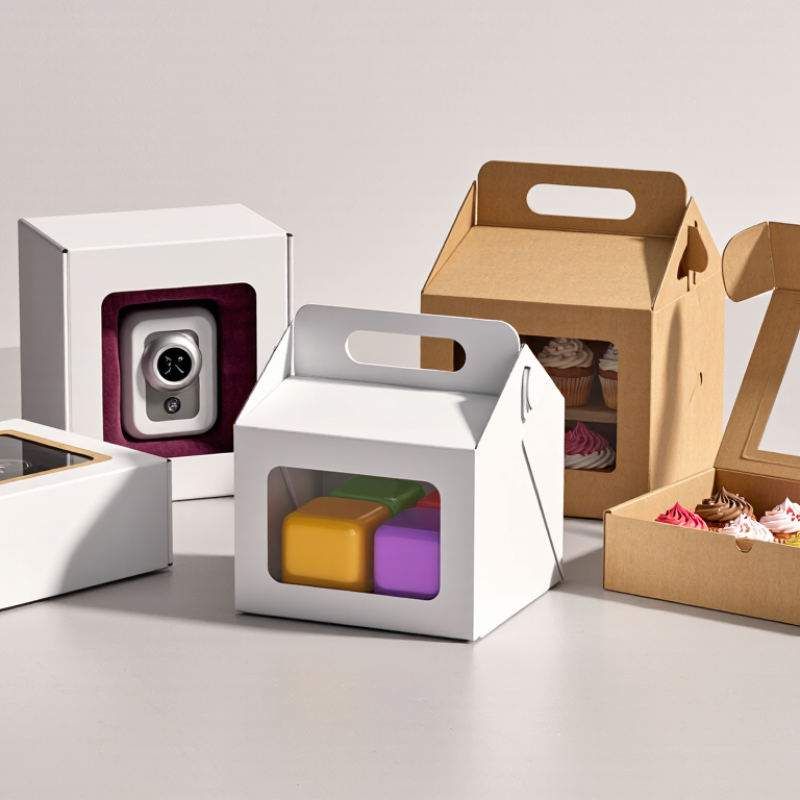
Packaging educator Walter Soroka is known for his work on packaging fundamentals. The following is an editorial paraphrase, not a verbatim quotation: “A window should reveal the product while the box protects it.” It offers a useful lens for comparing common formats. Folding cartons suit lightweight retail goods and can use tuck-end or sleeve designs. Gable-top boxes bring a handle-friendly shape to gifts and food products. Bakery boxes often use broad viewing panels for decorated treats. Rigid boxes offer a sturdier, more premium feel, though they can take more storage space.
Each type makes a different trade-off. A large window gives a better view, yet may leave less printable area. A small panel keeps more of the design private, but shoppers see less. Not every product needs a dramatic display. Even so, the right format depends on product weight, visibility, shelf placement, and the unglamorous details of packing and storage. This guide compares the leading types, their practical strengths, and the questions worth asking before choosing one.
Common Design Features of Window Paper Boxes
Common Design Features of Window Paper Boxes
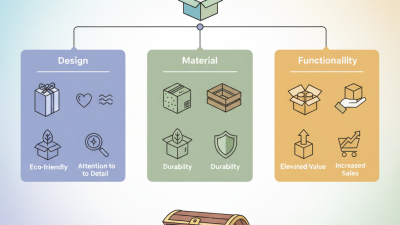
A window paper box combines a folded paperboard structure with a cutout that reveals part of the product. The opening may be rectangular, round, or shaped to follow the item’s outline. A clear film is often attached behind it to keep products visible while helping shield them from dust and handling. The film should sit flat; loose edges can look untidy and may catch during packing. Small detail, big difference.
Board thickness, fold lines, and closure tabs determine how well the box holds its shape. For lightweight items, a tuck-in flap may be enough. Heavier products often need a firmer base or reinforced corners. A window placed too close to a crease can weaken the panel, while a very large opening leaves less material to support the box. There is no universal layout. Fit depends on the product’s weight, dimensions, and how it will be displayed.
Surface finishes also affect the window’s appearance. Matte paper can reduce glare, while a smooth coating may make printed colors look sharper. But coatings can change how the board folds, so a sample should be assembled before production. Check that the product stays centered and that the window does not press against delicate surfaces. One overlooked issue: reflections from store lighting can obscure what the opening is meant to show.
What Are the Top Types of Window Paper Boxes?
Common design features, shown as the number of box faces with a transparent window
These values describe representative constructions, not market shares: a front-panel or die-cut window typically appears on one face, a wraparound design on two, and a multi-side design on three. Window shape and placement can vary by package.
Sleeve-Style Window Paper Boxes
Sleeve-style window paper boxes combine a paperboard tray with an outer sleeve that slides over it. A cutout in the sleeve reveals the product without opening the package. This format works well for soaps, pastries, small gifts, and other items that benefit from a clear view. The tray supports the product, while the sleeve carries printed details and helps keep the contents in place.
The window can be covered with a transparent film, or left open when the product allows it. Each choice has trade-offs. Film helps reduce dust exposure, but its material may complicate recycling unless it can be separated from the paperboard. An uncovered opening looks simple, yet it offers less protection during handling. Check the sleeve fit with a filled box, not just an empty sample. A tight sleeve can tear at the corners. Too loose, and it may slip off in transit. Small details matter. A neat window edge, smooth sliding action, and sturdy tray can make the package feel carefully made, though a large cutout may weaken the sleeve. Prototype testing often reveals awkward spots that a flat design file misses.
Gable-Top Window Paper Boxes
Gable-top window paper boxes pair a familiar peaked roof with a clear viewing panel. The folded top can be carried by hand, while the window lets shoppers see color, shape, and arrangement without opening the package. This design suits bakery items, small gifts, and carefully arranged retail products. The window is useful. It is not decoration alone.
A cutout removes some support from the front panel, so board thickness and box dimensions matter. For heavier contents, test a filled sample before choosing a production specification. A snug insert can limit movement, especially when the contents have uneven shapes. Clear film helps keep dust away, but it should be selected for the product and its storage conditions. Moisture can soften paperboard. That detail is easy to overlook.
The gable folds should meet cleanly, and the handle needs enough room for comfortable fingers. A box that looks neat on a display table may feel awkward when carried. Check the window edges, too; rough cuts can catch on delicate wrapping or make the package look unfinished. Small flaws show. The best layout balances visibility with enough printed or solid board to protect the contents.
Corrugated Window Boxes for Heavier Products
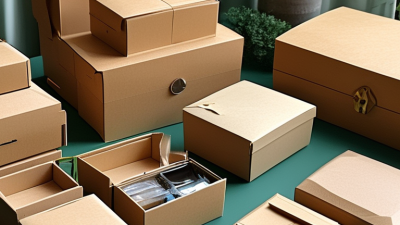
For heavier products, corrugated window boxes combine a visible product window with a sturdier paperboard structure. The corrugated flutes add cushioning, helping reduce knocks during packing and transport. A clear panel can show a product’s texture, color, or shape without opening the carton.
Useful detail. The window should not be oversized: a large cutout can weaken the front panel, especially near corners and locking tabs.
Choose board strength according to the packed item’s weight, dimensions, and shipping route, not appearance alone. A dense jar or metal component may need a stronger flute profile and a snug insert to limit movement. Retail display and parcel delivery place different demands on a box. Test a filled sample by stacking it, handling it, and checking whether the window film stays attached. Inspect the edges after humid storage, too; paper can soften, and adhesives may behave differently. These checks are practical, but they cannot predict every rough journey. A prototype may reveal an awkward detail: the product shifts just enough to scratch the window. Adjust the fit before ordering a full run.